

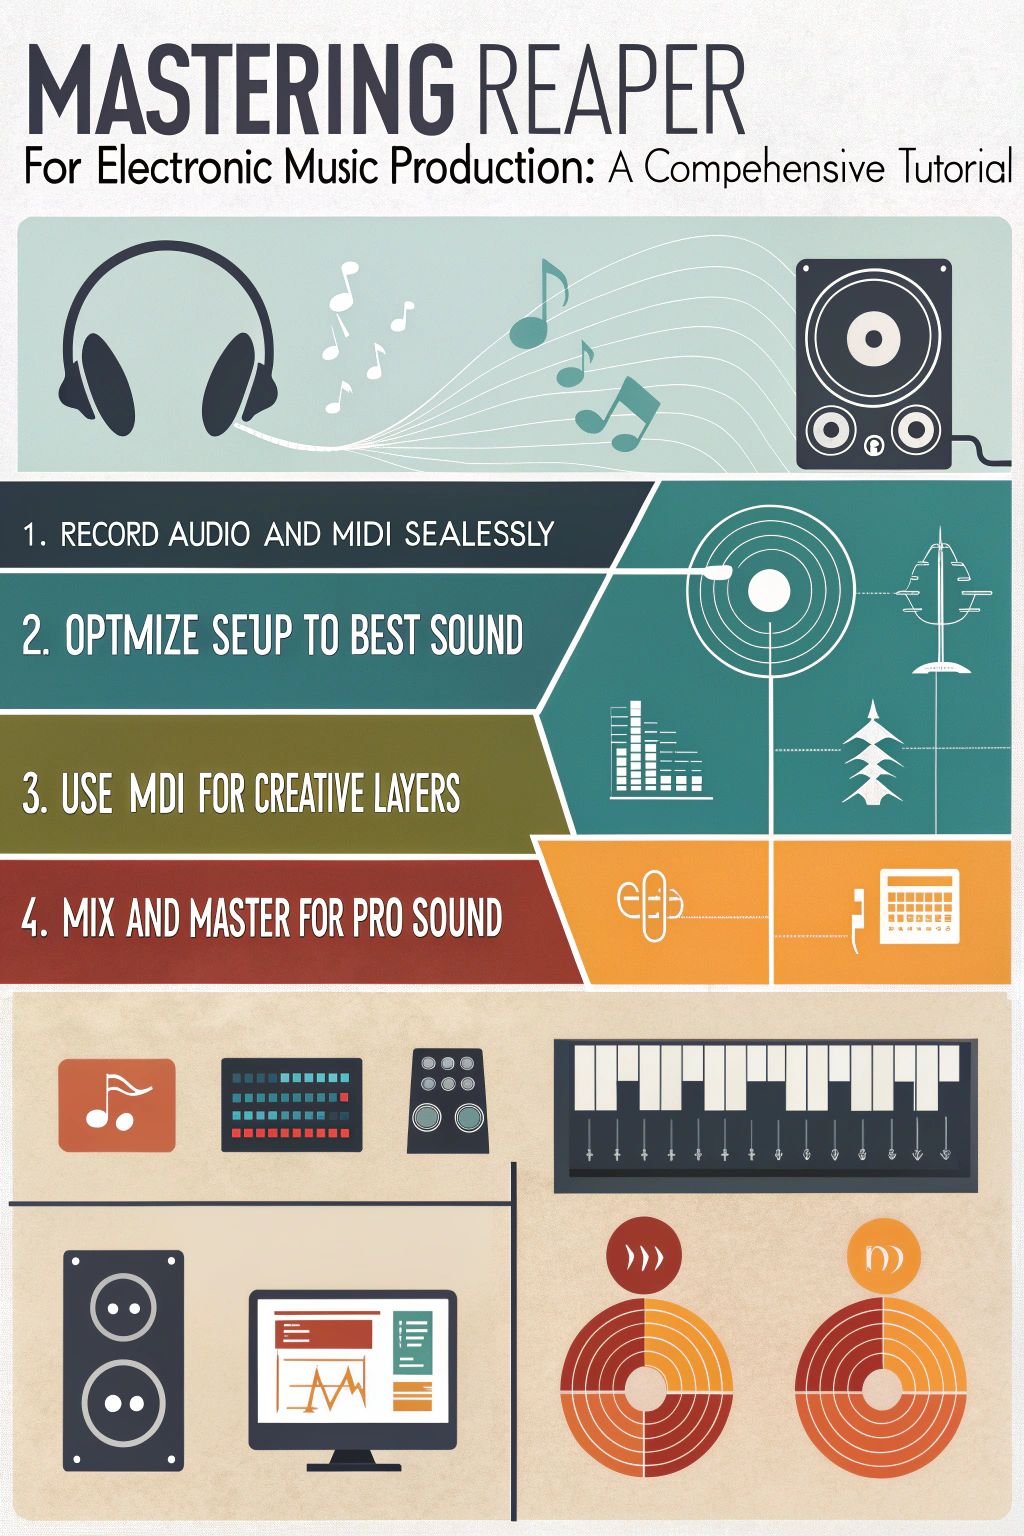
Finding the right software for making electronic music can be hard. REAPER version 7.30 is now out and ready for download. This article will show you how to use Reaper for electronic music production, from setup to advanced tips.
Let’s get started.
Understanding Reaper DAW
Reaper DAW, also recognised as a Digital Audio Workstation (DAW), is crucial for electronic music production. It provides features such as MIDI recording, sequencing, and sound design tools specifically for creating electronic dance music.
Reaper’s interface is adaptable, enabling intricate routing for audio production. It offers plugins and effects crafted to improve music production, helping producers reveal the intricacies of dynamic range compression and automation.
What is a DAW?
A DAW, abbreviated from digital audio workstation, is a software type utilised by music producers to create and modify music. It provides the facility to manage sound recordings and MIDI tracks.
Using a DAW like REAPER, you get to operate virtual instruments, control audio tracks and even incorporate effects via plugins. This tool is crucial for anyone who intends to produce top-tier electronic music or any other genre.
REAPER distinguishes itself by providing a feature for appearance modification and an abundance of options for streamlined music production. Moreover, its stable operation and infrequent crash occurrences are an integral feature every producer appreciates.
The automation features in this software also assist in boosting your workflow efficiency.
Within electronic music production, mastering your DAW parallels learning how to play an instrument – vital.
Key features of Reaper for electronic music production
Reaper has a lot going for it, especially if you’re into making electronic music. One big plus is that Reaper supports multitrack audio and MIDI recording. This means you can lay down lots of tracks, from beats to synths, all at once.
It’s also great with various hardware and digital formats. You can use a whole range of plug-ins too – think VST, VST3, even AU among others.
There’s more good stuff inside Reaper for tweaking your tunes. Version 7.30 brought new tricks to make things smoother. The software lets you work with high-quality audio thanks to its 64-bit processing power.
For those who love to fine-tune their sound, there are hundreds of effects ready to go for both audio and MIDI files. Plus, advanced features like automation and scripting give you the control needed to push your music production further.
Setting Up Your Studio
When setting up your studio, ensure you have the essential equipment such as a computer, audio interface, and quality headphones. Optimise Reaper settings customised for electronic music production, maximising its built-in features and plugins.
Also, consider using virtual studio technology and software synthesizers to enhance your music production process.
Required equipment: computer, audio interface, headphones
To commence creating music with Reaper, a few important items are necessary. Initially, acquire a quality computer. An Intel i3 processor and 4GB RAM should suffice. This setup permits efficient operation of the software for track production or drum editing within your DAW.
Subsequently, purchase an audio interface and headphones. A modest USB interface should be around $100 from manufacturers like Presonus or Focusrite. These are excellent for sound recording into Reaper without interference.
Moreover, closed-back headphones contribute to maintaining clean recordings by preventing sound from escaping. With this apparatus, you’re set to explore electronic music production employing Reaper’s potent functionalities.
Optimising Reaper settings for electronic music
Getting the best sound in Reaper starts with optimising settings. This is key for electronic music where details matter.
- Set up ASIO for your audio. Go to Options, then Preferences, and choose ASIO as your audio system. This reduces lag while recording or playing back sounds.
- Direct monitoring can help cut down on lag too. But it means you can’t hear software effects live.
- Make sure each track records the right input. Click on the track, find “Input,” and pick where the sound comes from.
- Use Reaper’s stock plugins like EQ, compression, and reverb for mixing. They shape your music without needing extra tools.
- Reaper 7 brought in Razor Edits. This lets you change media or automation with more control.
- Try retroactive MIDI recording if you play something good by accident. It captures notes even if you weren’t recording.
- For effects that you use a lot, set up FX auto-bypass to save CPU power when they’re not needed.
Each step helps make Reaper a powerful tool for electronic music production without hassle or high costs.
Apps and Tools for Electronic Music Production
Electronic music creators have many apps and tools at their disposal. REAPER stands out with its full features for audio and MIDI work. It fits well with various hardware, digital formats, and lots of third-party plug-ins.
New stuff in REAPER 7 like Track Lanes make your job easier by helping you manage different parts of a song. For those who want more, there’s Swipe Comping and FX Containers to play with.
For creating unique sounds, virtual instruments are key. They let you bring any musical idea to life without real instruments. Editing software is also crucial for getting every detail just right in your tracks.
With customisable keyboard shortcuts, REAPER makes this process fast and less fiddly. Whether you prefer using MIDI editors or complex routing options for your tracks, these tools boost your creativity and efficiency in the studio.
Recording and Editing Techniques
In this segment, we’ll explore how to utilise the power of MIDI and virtual instruments for creating captivating electronic music. Delve into precision production methods with detailed audio editing techniques crafted to elevate your tracks.
Using MIDI and virtual instruments
MIDI makes music creation easy. With REAPER, you can use different MIDI record modes like OVERDUB and REPLACE to perfect your track. The MIDI Editor is key for making precise changes, such as adjusting the timing or how hard a note plays.
You can also easily change a note’s pitch or length.
To add more sounds, plug in a MIDI keyboard and select from many virtual instruments within REAPER. This setup allows for tweaking performances until they’re just right—altering notes and their qualities to fit your vision.
Plus, REAPER supports up to 128 input/output devices, so you have plenty of options for expanding your electronic music toolkit.
Editing audio for precise production
Editing audio with precision is key for top-quality electronic music. Tools and techniques can make a huge difference in how clear and engaging your tracks sound. Here’s how to do it right.
- Start by cutting audio clips accurately. This removes unwanted parts.
- Apply fading to smoothly transition between clips. This avoids sudden jumps in volume.
- Use REAPER’s JSFX plugins for unique sounds. They add character to your music.
- Experiment with FX chains. This allows you to apply multiple effects in a sequence for richer sound texture.
- Keep an eye on audio integrity. Make sure your edits don’t harm the original sound quality.
- Utilise custom Keyboard/Mouse Overrides for faster editing. It saves time by making shortcuts more efficient.
- Learn from trial and error. Every mistake is a chance to get better.
- Record multiple takes of a part, then pick the best one. It ensures the highest quality performance.
- Focus on maintaining clarity while manipulating audio clips. Clear sounds stand out more in electronic music.
Advanced Production Techniques
In “Advanced Production Techniques,” we’ll explore mixing and mastering tips to elevate your tracks. Learn how to use plugins and effects creatively for a unique sound.
Mixing and mastering tips
Great mixes and masters are essential for electronic music producers. Here’s a list of tips to help you achieve the best results:
- Gain structure is crucial for maintaining headroom in your mix; aim for clear and balanced sound without distortion.
- Use automation to add movement and dynamics, creating a more engaging listening experience for your audience.
- Subtractive EQ should be favoured over additive EQ, focusing on cutting frequencies instead of boosting them.
- Proper use of reverb is essential for creating a natural and spacious sound in your mixes.
- When mixing and mastering, consider collaborating with a professional engineer to gain valuable insights and expertise.
These tips can elevate your production game and take your tracks to the next level.
Utilising plugins and effects
Reaper includes high-quality built-in plugins ideal for music production.
Various types of Reaper plugins are available, including stock, instrument, and free options.
The guide emphasises Reaper’s capability to boost creativity without financial barriers.
Details on how to add, open, and disable plugins in Reaper are provided.
Customisable track spacers and MIDI editor enhancements improve usability.
LV2 and CLAP plugin format support is available in Reaper.
Conclusion
In conclusion, mastering Reaper for electronic music production is vital in today’s constantly evolving music landscape. Recognising the intricacies of this DAW and its customised features for electronic music will undoubtedly reveal the strategies to producing high-quality tracks.
With a complete tutorial like this, you can explore advanced production techniques, investigate various recording and editing methods using MIDI and virtual instruments, and unleash the potential of plugins and effects to refine your sound.
By integrating these tools into your studio setup and following the detailed guidance provided here, you can elevate your electronic music production to new levels. Remember that Reaper offers a wide range of capabilities suitable for both newcomers seeking more than fundamental knowledge and experienced producers looking for tailored solutions suited to their specific needs.
Maximising the full potential of Reaper will not only enhance your creative process but also supports your ability to compete in a challenging realm.
Embark on this journey armed with first-hand experience gained from this tutorial, equipped with valuable insights on optimising settings, exploring apps and tools relevant to electronic music production, as well as honing advanced techniques such as mixing and mastering.
Envision this: by immersing yourself in Reaper’s powerful feature set showcased here, you’re on track to produce music that not just meets but surpasses modern industry standards.
References
- https://blog.landr.com/reaper-daw/
- https://www.amazon.co.uk/Elevate-Your-Audio-Production-Reaper/dp/B0DCZHNC2B
- https://www.musicgateway.com/blog/music-production/reaper-daw-tutorial
- https://learn.landr.com/reaper
- https://www.reaper.fm/
- https://promixacademy.com/course/the-ultimate-guide-to-reaper/
- https://music.tutsplus.com/how-to-record-edit-midi-and-virtual-instruments–cms-107662t
- https://www.amazon.co.uk/Elevate-Your-Audio-Production-REAPER-ebook/dp/B0DFMHV2KD
- https://hyperbits.com/mixing-mastering-electronic-music/
- https://composercode.com/the-ultimate-guide-to-using-reaper-plugins-for-music-production/


